Removing Sticky Residue from Kitchen Cupboard Doors: Why They Feel Horrible After Years
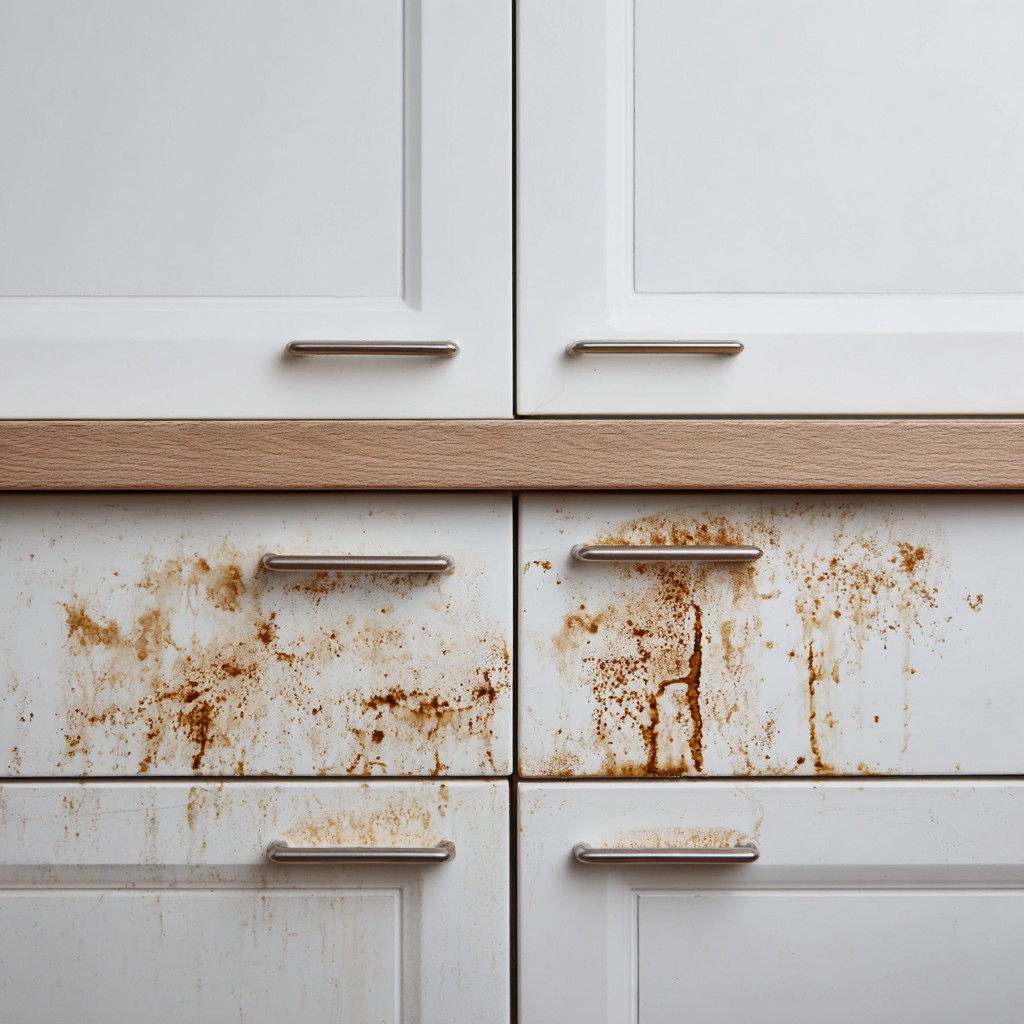
You reach up for your morning mug, your fingers make contact with the cupboard door, and there it is – that unmistakable, skin-crawling tackiness that no amount of polite denial can explain away. It’s not wet. It’s not visibly dirty. It’s just… sticky. And somehow that’s worse.
If this sounds horribly familiar, I want to reassure you straight away: this happens in virtually every kitchen, regardless of how often you clean it. It’s not a reflection of your housekeeping standards. It’s a reflection of basic chemistry, and once you understand what’s actually going on, you’ll know exactly how to fix it – and how to stop it creeping back. So, let’s get into it.
It’s Not Just Grease – Here’s What’s Actually Building Up on Your Cupboard Doors
The word “grease” tends to take all the blame here, and whilst it is certainly the main culprit, the full picture is a bit more complicated – and frankly, a bit more grim.
The Kitchen Is Basically a Slow-Motion Splatter Zone
Every time you fry an egg, boil a pot of pasta, or even run the kettle, you release microscopic particles of fat, water vapour, and food matter into the air. These particles don’t just vanish – they travel. They drift across the kitchen and settle on every available surface, including vertical ones. Your cupboard doors, particularly those nearest the hob, are essentially collecting all of this, quietly and continuously, every single day.
At first, the layer is so thin you’d never notice it. But over months and years, it builds. It oxidises. It thickens. And eventually, what was once invisible becomes that horrible tacky coating you’ve been trying not to think about.
Your Cleaning Products May Be Part of the Problem
Here’s the bit that tends to sting a little: those multi-surface sprays and wood-care polishes you’ve been faithfully applying? Some of them may actually be making things worse. Many mainstream cleaning sprays contain silicones, surfactant films, and wax-based compounds that leave their own residue behind after the spray itself has dried. These residues are themselves slightly sticky, which means they attract fresh grease and dust rather than repelling it. You clean, it looks shiny, and within a week it feels tacky again – not because you’ve done anything wrong, but because the product is working against you. It’s the cleaning equivalent of being sold a solution that quietly extends the problem.
Why the Sticky Layer Gets Worse With Time (The Chemistry, Without the Boring Bits)
There’s a reason that wiping these doors with a damp cloth starts to feel completely pointless after a while. It’s because you’re no longer dealing with fresh grease. You’re dealing with something chemically quite different.
Grease + Heat + Time = Polymerisation (Yes, Really)
When cooking grease is repeatedly exposed to heat and then left to cool – day after day, month after month – it undergoes a process called polymerisation. The fat molecules link together and harden into a film that behaves less like grease and more like a thin coat of varnish. If you’ve ever seasoned a cast iron pan, you’ve actually used this process deliberately. On your cupboard doors, it’s deeply unwelcome but operating on exactly the same principle.
This is why a damp cloth achieves nothing. You’re not wiping away fresh oil – you’re rubbing against something that has essentially cured onto the surface. You need to break it down chemically, not just physically, which is exactly what we’ll cover shortly.
The Dust-and-Grease Combo: A Particularly Grim Partnership
Grease is inherently sticky, which means it acts like a trap for everything else floating around your kitchen – dust, pet hair, tiny food particles, general airborne household debris. Each layer of grease catches a new layer of particles, which then gets coated by the next wave of cooking vapour, which catches more dust, and so on. What you end up with, over the course of a few years, is a multi-layered composite of genuinely unpleasant substances that has bonded to your cupboard doors with considerable determination. This explains that deeply unsatisfying experience of cleaning the doors and finding they still feel wrong afterwards – because a quick wipe is only ever reaching the very top of a much thicker situation.
Know Your Enemy – Identifying What Kind of Residue You’re Dealing With
Before you reach for anything, it’s worth taking thirty seconds to identify what you’re actually dealing with. Different residues respond to different treatments, and matching your method to your problem will save you a lot of effort.
The Quick Finger Test (Glamorous, This Is Not)
Run a clean fingertip firmly across the door and note what you feel. Tacky but smooth generally points to oxidised grease in its earlier stages. Gritty and rough suggests a grease-and-dust composite that’s been building for a while. A slightly waxy feel with no real stickiness usually means product buildup from polishes or sprays. And if it’s sticky with a faint yellowish tinge when you look at it in good light – congratulations, you’ve got the full house: polymerised grease, dust, product residue, and cooking vapour, all working together in unholy alliance.
Does Your Door Finish Make a Difference?
Significantly, yes. Vinyl-wrapped doors and laminate finishes are generally the most forgiving – they tolerate moisture and mild acidity reasonably well. Painted MDF doors need a gentler approach, as aggressive scrubbing or soaking can damage or lift the paint. Solid wood doors are the most sensitive of all – never soak them, keep everything quick and dry, and treat vinegar-based methods with real caution. Always test any method in a small, inconspicuous area first, ideally inside a door or on the back of a cabinet. This takes ten seconds and can save a very stressful afternoon.
The Methods That Actually Work (Tried, Tested, Kate-Approved)
Right – here’s what you’ve been waiting for. Three methods, ordered from gentlest to most robust. Start at the top and only move down if you need to.
Method 1 – Washing-Up Liquid and Warm Water (The Underrated Classic)
This is your first port of call, and for recent or moderate buildup, it’s often all you need. Washing-up liquid is specifically formulated to break down food grease – it’s genuinely good at this job, and it’s already in your kitchen. Add a few drops to a bowl of warm (not boiling) water, dampen a microfibre cloth – not soaking, just damp – and work across the door in sections, rinsing the cloth regularly. Dry each section immediately with a clean, dry cloth rather than letting it air dry. The key technique note here is to use gentle but firm pressure in small circular motions rather than long aggressive strokes, which can push the residue around rather than lifting it. For doors that haven’t been deeply neglected, this will make a satisfying and immediate difference.
Method 2 – Bicarbonate of Soda Paste (The Gentle Abrasive)
When the buildup is heavier and the washing-up liquid alone isn’t quite cutting through, bicarbonate of soda paste is your next step. Mix two tablespoons of bicarbonate of soda with just enough washing-up liquid to form a thick paste – roughly the consistency of toothpaste. Apply it to the door with a damp cloth or your fingertips and work in gentle circular motions, letting the mild abrasive action do the work rather than applying extra force. Leave it to sit for two to three minutes on particularly stubborn patches, then wipe away with a clean damp cloth and dry thoroughly. This method is safe for laminate and vinyl-wrapped doors but use it cautiously on painted surfaces, and avoid it on untreated or waxed wood entirely.
Method 3 – White Vinegar Solution (For the Polymerised Stuff)
For doors where the grease has genuinely hardened and resisted everything else, diluted white vinegar is your most powerful household option. Mix equal parts white vinegar and warm water in a spray bottle – never apply it neat, as the acidity at full strength can damage finishes. Spray onto the affected area, leave it to dwell for three to five minutes, and then work it away with a microfibre cloth. Follow up with a wipe-down using plain washing-up liquid solution to neutralise any remaining acidity, and dry immediately. Do not use this method on natural wood or on painted MDF if you can help it – the acidity is unkind to both. And yes, it will smell like a chip shop briefly. It fades quickly, despite what anyone in your household might claim for the rest of the afternoon.
Keeping Them Clean Going Forward – Small Habits, Big Difference
Now that your doors feel like doors again rather than fly paper, the goal is to keep them that way without it becoming another project.
The Two-Minute Wipe That Changes Everything
Once a week – ideally on whatever day you do your general kitchen wipe-down – take a barely-damp microfibre cloth and run it over the most-used doors, paying particular attention to the area around handles where fingers make daily contact. This prevents fresh grease from ever reaching the oxidising and polymerising stage in the first place. It takes two minutes, it costs nothing, and it is genuinely the single most effective preventative habit you can build.
What to Keep Off Your Cupboard Doors
Resist the urge to use polish, wax sprays, or anything marketed as “shine-enhancing” on your cupboard doors as part of regular maintenance. These feel gratifying in the moment – that streak-free gleam is admittedly very satisfying – but they contribute directly to the long-term buildup problem we’ve spent this entire article unpicking. For routine upkeep, a drop of washing-up liquid in warm water is genuinely all you need. Less, in this case, is emphatically more.
Sticky cupboard doors are one of those things that creep up on even the most house-proud of us – they’re a slow accumulation rather than a single moment of neglect, and there’s no shame whatsoever in finding yourself here. The good news is that the fix is straightforward, the ingredients are already in your kitchen, and the results are immediate and very satisfying.